6 Gorgeous Bridal Updo’s in 10 Easy DIY Steps (or Less!)
Getting married is one the most important moments of a woman’s life, and for the ceremony alone, it’s so important that every little detail must be perfect. So when it comes to looking your best on your big day, one of the first decisions you must make is your bridal hairdo. Not only is it equally as important as your dress, your bridal hairstyle—which should make the best of your natural hair without a lot of glue and fuss—will directly influence your choice of gown, especially when it comes to choosing a neckline.
However, it’s no secret that the costs involved with getting married are higher than ever before, and professional makeup and hairstyling top the charts when it comes to wedding expenses. There are compromises in every category of wedding planning, and when it comes to hair, you may well find you can create a lovely style—or have your maid of honor or a friend do the honors—and walk down the aisle in a beautiful ‘do using just a comb, ponytail holders, and a handful of bobby pins. Add a healthy dose of long-lasting hairspray and you’re all set!
We’ve collected a few of the easiest but absolutely prettiest DIY styles we could find. And you really can do each and every one in 10 easy steps…or less!
-
The Waterfall Braid
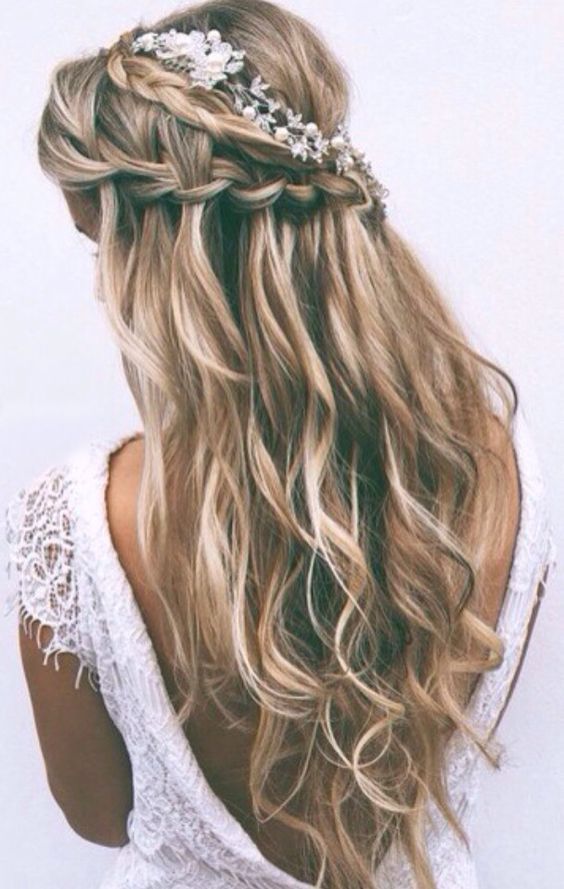
- Start by making a French braid above your right ear.
- Begin the waterfall by pulling the left strand to the middle.
- Take a strand from the top and pull it down to the middle.
- Catch the right strand and drop it down.
- Catch a strand from behind the strand you just dropped.
- Place a strand in the middle of the braid and work to the left side of your head.
- Once at the left side, drop hair on the right side.
- After that, wrap the left strand over middle piece.
- Use a bobby pin to secure hair in place and then wrap a slender strand of hair around to hide the bobby pin.
-
The Low-Key Bridal Updo
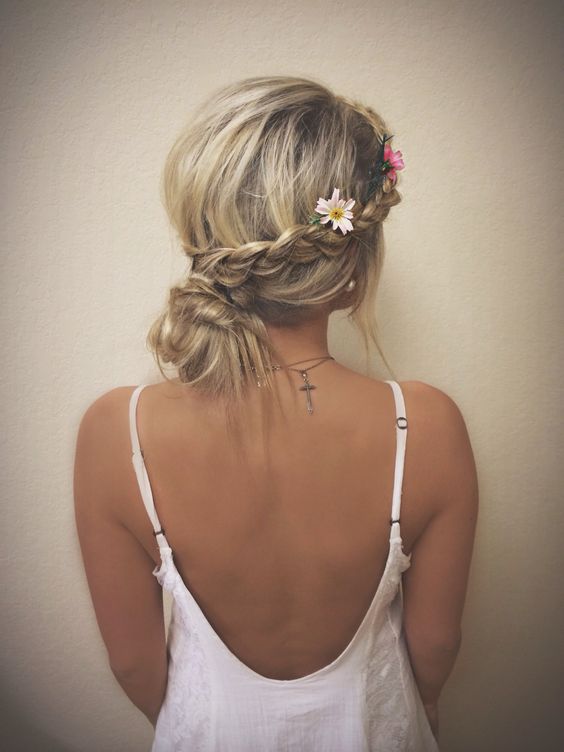
- Part your hair to one side.
- From the top, beginning with three sections going to the left, make a French braid.
- Repeat on the right.
- Gather the two braids from each end and twist them into a loose chignon.
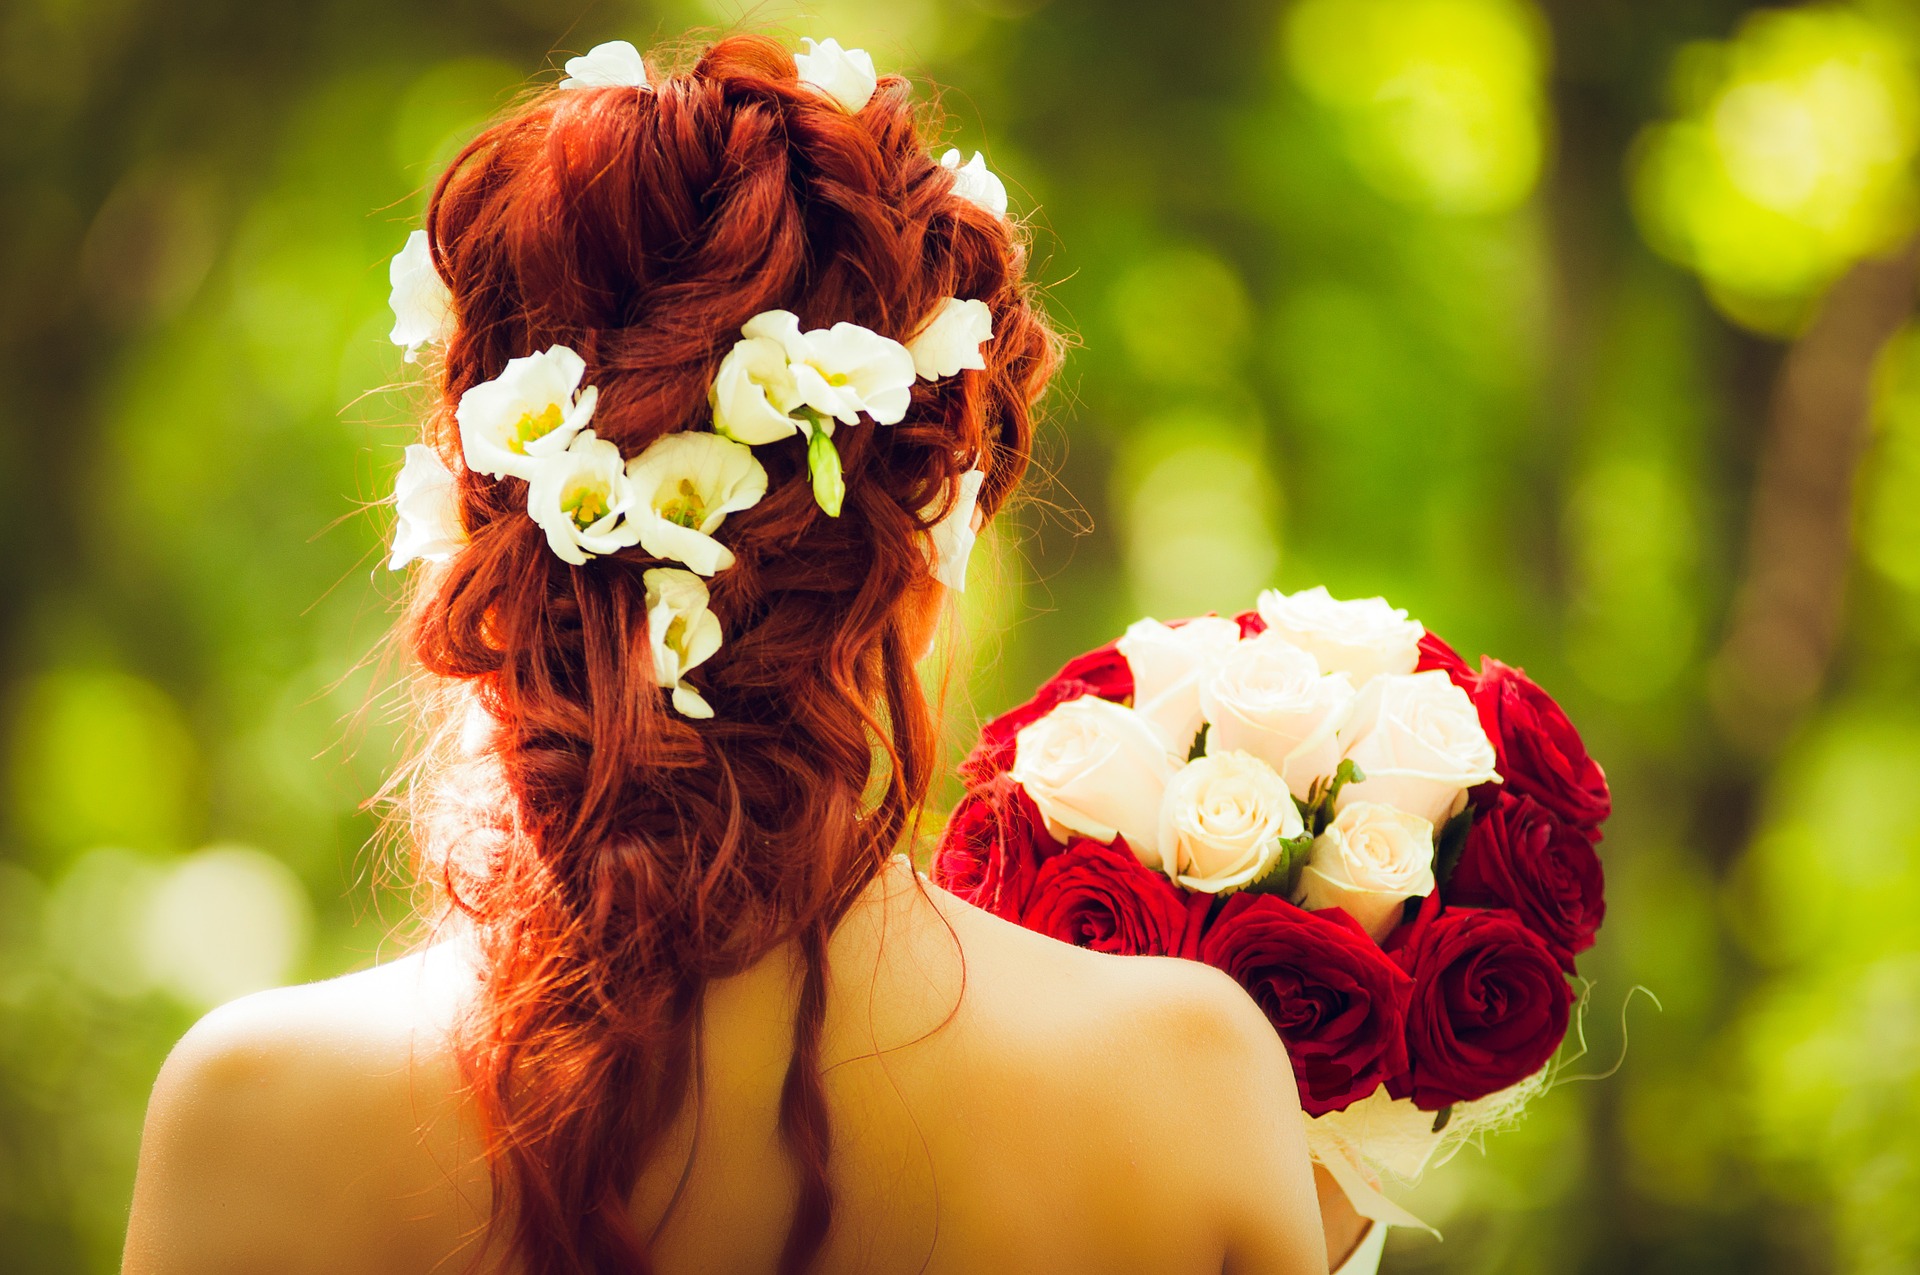
- Apply setting spray, brush back the loose strands, and tuck in flowers or baby’s breath.
-
The Twisted Sister
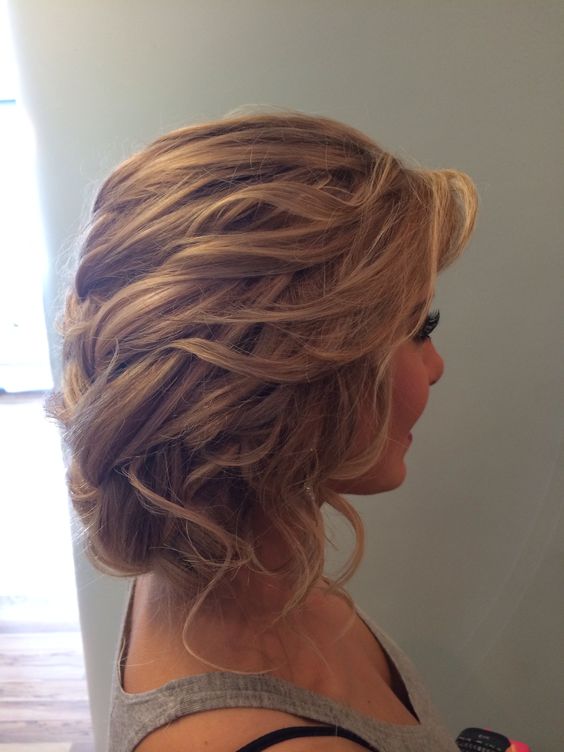
- Let down your wavy hair (either naturally wavy or after you’ve curled it into waves).
- Separate your hair into three sections: the front, the top, and the rest.
- Clip the front and top portions, then style the rest of your hair into a messy bun at the nape
- Take individual pieces from the top and front sections (about 4-6) and loosely twist them then pin into place at the back, securing them with bobby pins.
- Continue to alternate
- Backcomb the top section a bit to add volume.
- Twist and tuck the top portion into the loose bun at the back.
-
Stunning Shortie
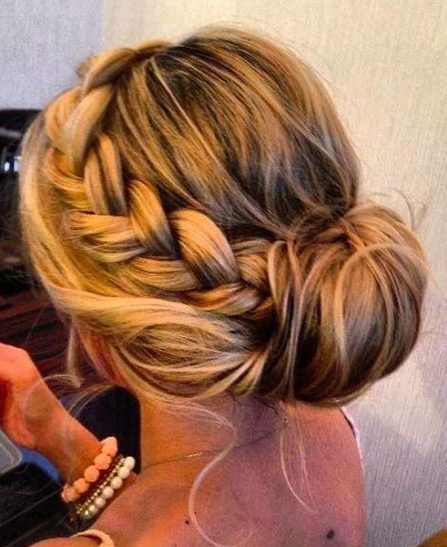
- Start with curling sections of your hair all over.
- Tie your hair into a loose ponytail leaving some hair loose on both the left and the right for the braid.
- Bobby pin the ponytail into a bun.
- Braid the hair on the left side and pin it to the bun at the back,
- Repeat on the right side.
- Pull a few strands in front to soften the look and use a curling iron if you want for a more dramatic effect.
-
Braided Crown
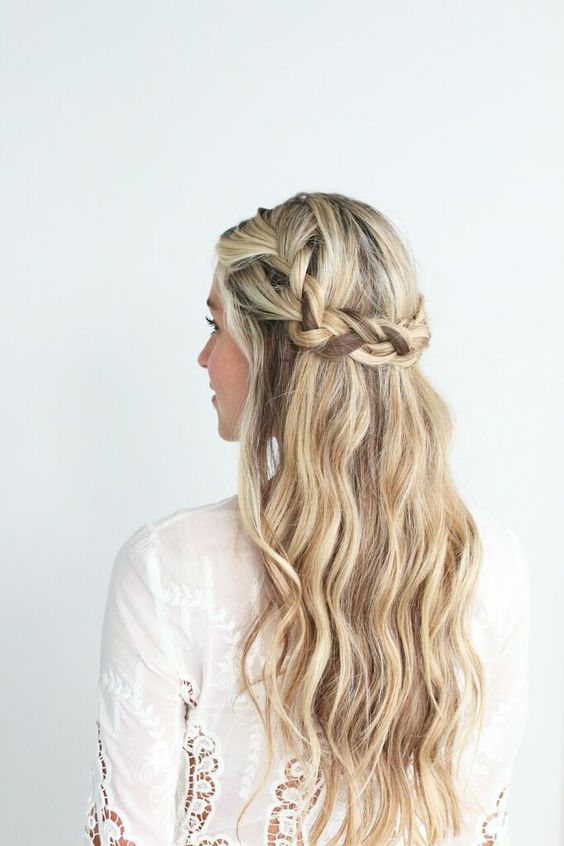
- Part your hair in the middle as you would normally would, then braid a portion of the left side—all the way to the ends—and pin it to the back.
- Braid the right side, bring it to the back and cross it over the left braid.
- Using bobby pins, lay the braids over each other to make a thicker back section and secure with bobby pins.
- Using the handle of a slim comb, lift the crown hair to add volume.
-
The Top Half
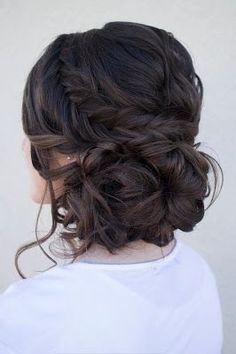
- Comb a separation ear to ear and clip the top out of the way to style later. Gently capture the ponytail section.
- Twist the ponytail and use bobby pins secure it into a bun.
- Release the top clipped hair—all but the crown—then curl the hair loosely away from the face using a flat iron or curling iron.
- Now curl the crown working straight up as you curl, adding a soft lift effect to the top layers.
- Gently sweep everything to the back.
- Pin the hair in loose sections to hide the bun.





Recent Comments