


8 Tips for Successful DIY Wedding Flowers
The date is set, and the decision has been made: You’re going to DIY your wedding flowers. Good for you! Now that the idea is a reality, though, you might have some reservations. But not to worry—lots of brides before you have created their own arrangements and you can, too.
There are three crucial things you need to do to complete this particular wedding project successfully: Research, schedule, and delegate. Be as thorough as possible when it comes to research on how to purchase and work with different varieties of flowers. Then figure out a timeline for when to buy the flowers and how long it will take to assemble them. Then delegate as much as you can to those who love you and who you trust to help get the job done right.
Yes, making your own wedding arrangements is a major undertaking, but you can do it! Just start with our tips, then add what you’ll learn on your own, and you’ll have one gorgeous, amazing DIY wedding that you can be proud of forever!
1. Plan Ahead:
Do research online and also scout floral design books, looking for arrangements that appeal to you. You may discover that the elaborate bouquets you were pining for might be a bit of a stretch, but finding a theme is the goal. What color and feel are you really looking for? What designs do you like?
Once you have an idea of what you want, you’ll need to know how much of each flower to buy. Here’s a wonderful interactive wedding flower calculator that’ll tell you just about everything you need to know: http://www.weddingflowersandreceptionideas.com/wedding-flower-calculator.html
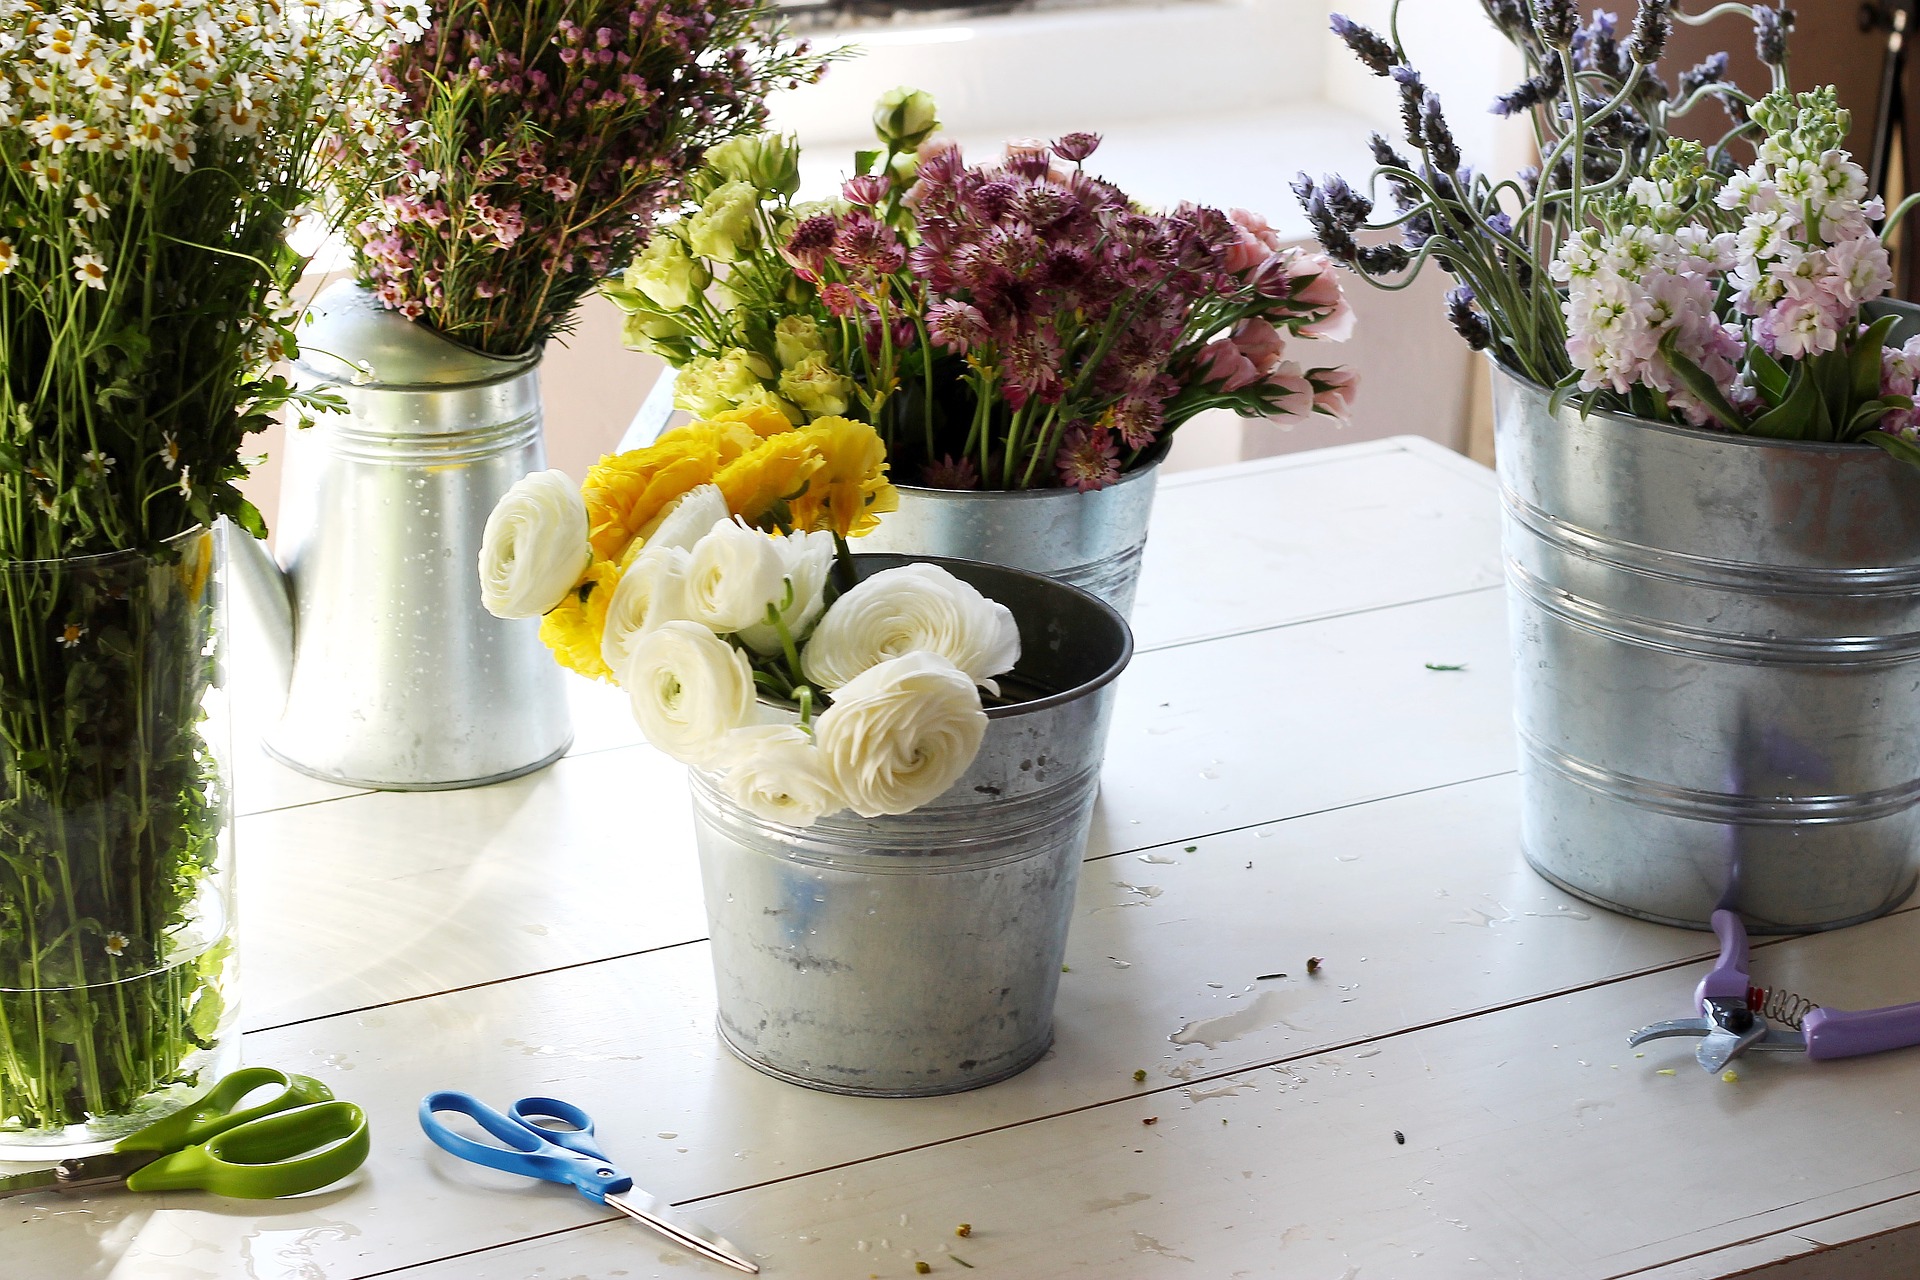
2. Choose Two Varieties Only:
One practical piece of advice is to limit the assortment. Not only will it save you money—because buying only 2 varieties in bulk gets you a better deal—but working with only one or two kinds of flowers makes your job a lot easier, especially if you’re constructing centerpieces plus a bouquet.
FYI: You do not necessarily have to count baby’s breath and greenery as “varieties” of flowers because these can just be gathered into the arrangements as you go along to make things fuller and fluffier. It’s the blossoms themselves that might need to be wired or wrapped.
3. Scout for the Right Supplies:
Every type of supply you’ll need is available online—floral scissors, floral tape, floral foam and even ribbons. Other things like pins and floral wire for bouquets, corsages and boutonnieres should also be on your list.
Here’s a wonderfully helpful primer from Blooms by the Box as to what tools you need: https://www.bloomsbythebox.com/pub/floraltools.cfm
4. Choose Vases & Centerpiece Holders Carefully:
Always take into account your reception table sizes because your centerpieces shouldn’t be dwarfed by the surface area of the table. To make more of a statement, you can add some tall filler or make the arrangements fluffier with greens and baby’s breath. Also, you can buy simple and inexpensive vases from the dollar store then spray paint them just about any way you want to for a shot of color or texture.
5. Select Hardy Blooms:
It’s an absolute must to select hardy flowers. It’s likely that your delivery will arrive a couple of days early, sometimes sooner, so choosing delicate blooms that wilt in 48 hours is a no-go. Visit your local florists to ask about local choices—and get some expert advice too!
6. Double-check Flower ETA:
Remember to double check the ETA of your flowers. Knowing what state they’re coming from also gives a fair idea of the date and time of arrival. Here are 5 reputable sites from which to buy your flowers in bulk:
- https://www.bloomsbythebox.com/
- http://www.samsclub.com/sams/flowers/1240.cp
- http://www.costco.com/floral.html
- http://www.fiftyflowers.com/
- https://globalrose.com/
7. Storage:
Immediately upon arrival, the flowers must be put in clean water, usually with some kind of flower food. Leaves and other foliage below the water line should be trimmed. Flowers that arrive closed must be kept alive until the blooms open. It’s best to keep the flowers in a cool, well-ventilated, and shady spot away from direct sunlight.
- Never put your flowers in the fridge! It might be tempting to put your flowers in the refrigerator, but don’t! The humidity and temperature of a regular refrigerator are different from a floral fridge and will kill your flowers very quickly.
8. Practice, Practice, Practice:
Just like your wedding hair and makeup, you’ll need to practice with your flowers, too. Doing it once or twice is not enough. There are loads of videos on Youtube so it might be best to check those out. Spend a bit on cheap flowers from the market or dollar store silk blooms and practice constructing bouquets yourself.
General Timeline for Assembly
Here’s a quick rundown of the general timeframe you can plan on for standard wedding floral arrangements:
- Centerpieces: 15 centerpieces will take a couple hours for two reasonably skilled workers, and these can be made ahead two days ahead—but no more than two days.
- Bouquets: YouTube videos can only get you so far. For one bridal bouquet, allow about an hour. Smaller bouquets like bridesmaids will take 30 to 45 minutes each.
- Boutonnieres and corsages: Given the tricky nature of these pieces, they should be completely made the day before the event.
Tutorials!
You’ll find plenty of DIY tutorials on YouTube and also in floral arrangement books, but here are a couple of super-simple yet stunning looks:
- Here’s a super-simple DIY for a bold hand-wrapped bouquet using silk flowers: https://www.youtube.com/watch?v=-qN1jykkd-c
- This tutorial is for a fresh bouquet of calla lilies and roses, one of the hottest combinations for weddings these days: https://www.youtube.com/watch?v=aJh4fMy7OGw
- And here’s is a fantastic tutorial for a DIY designer beaded bouquet holder: https://www.youtube.com/watch?v=cCjqmLAY0tw
You Can Do It!
Arranging your own wedding flowers is a major project, but it’s also a lot of fun, especially when you think how proud you’ll be that you did it yourself! Just have someone check on the larger arrangements from time to time and maybe spritz a little water to keep them fresh. If you use OASIS floral foam, though, you can pretty much forget about them!

Recent Comments